Linking your ORCID record
Linking your ORCID record
Step 4
Once you have logged into the hub, you will be presented with a screen allowing you to connect your ORCID record.

Step 5
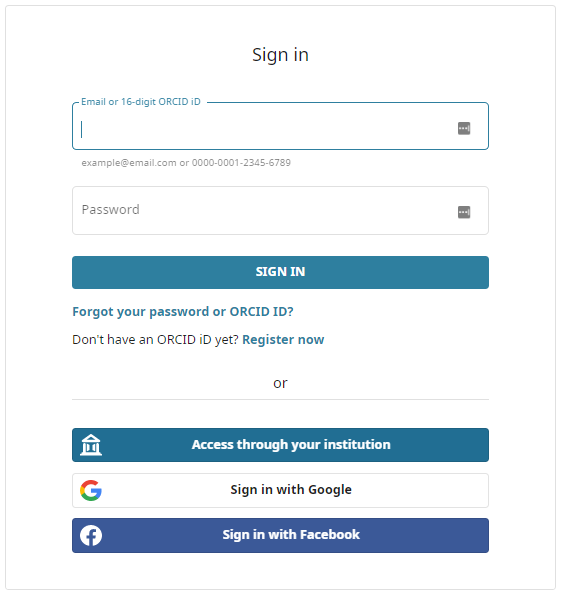
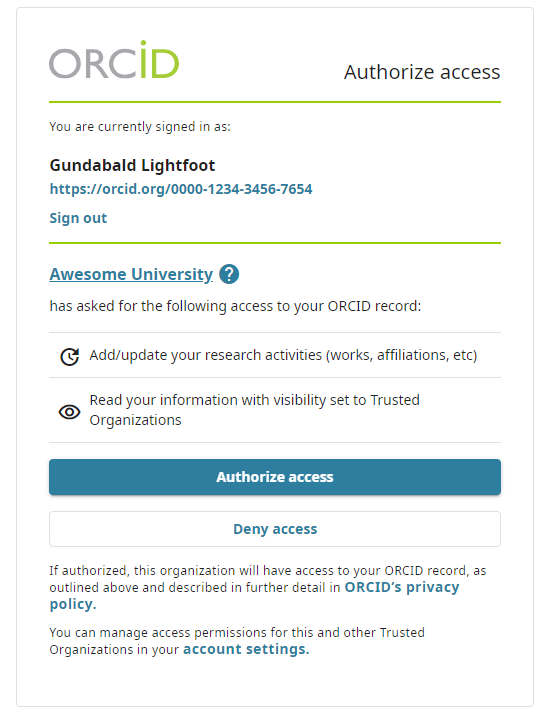
This will take you to the login ORCID sign in page where you will be asked to give permissions for the Intembeko ORCID hub to read and write information into your ORCID record. If you have not signed into your orcid record on the computer you are working on you will see the following page:

Please sign into your ORCID record and you will see the authorise screen mentioned below.
If you have logged into your ORCID record on this computer the ORCID sign in page wont appear and you will see the authorise page.

It is advised to allow these permissions as gives your university the ability to write affiliated information into the record, but also allows your university to read information set as trust party so that information can reused in university application forms and systems so that you do not have to retype this.
Step 6
Once you have given permission you will be returned to the hub where you will see a summary of the permissions you gave.

Step 7
You can now log out of the hub.
If you now go to your ORCID record, you will see an affiliation writing by the Intembeko ORCID Hub (note the source of this information)
